Usage#
HumBLE Explorer runs on the command line with an interactive Text User Interface (TUI).
Installation#
You can install HumBLE Explorer as a pip package from PyPI:
pip install humble-explorer
Command-line arguments#
You can find all command-line arguments by running HumBLE Explorer with the --help option:
$ humble-explorer  --help
usage: humble-explorer [-h] [--version] [-a ADAPTER] [-s {active,passive}]

Human-friendly Bluetooth Low Energy Explorer

options:
  -h, --help            show this help message and exit
  --version             show program's version number and exit
  -a ADAPTER, --adapter ADAPTER
                        Bluetooth adapter (e.g. hci1 on Linux)
  -s {active,passive}, --scanning-mode {active,passive}
                        Scanning mode (default: active)
  -m, --macos-use-address
                        Use Bluetooth address instead of UUID on macOS
By default, HumBLE Explorer scans for BLE advertisements using your operating system’s default Bluetooth adapter. You can change this with the -a ADAPTER option.
Also, by default HumBLE Explorer does active scanning. For every device the program finds, it requests extra information, with a SCAN_REQ packet directed at that device. The addressed device responds with a SCAN_RSP advertisement, which is also called scan response data. What data is returned for a SCAN_RSP packet depends on the type of device. It could be its device name, or manufacturer-specific data, or something else. If you want HumBLE Explorer to use passive scanning, use the -s passive option. The program then doesn’t send SCAN_REQ packets, so devices don’t respond with scan response data.
On macOS, users normally don’t get access to the Bluetooth addresses of devices, but to a UUID. With the -m option, you get the actual Bluetooth address.
User interface#
When you start HumBLE Explorer, it starts scanning for Bluetooth Low Energy advertisements and is showing them continuously in a scrollable table:
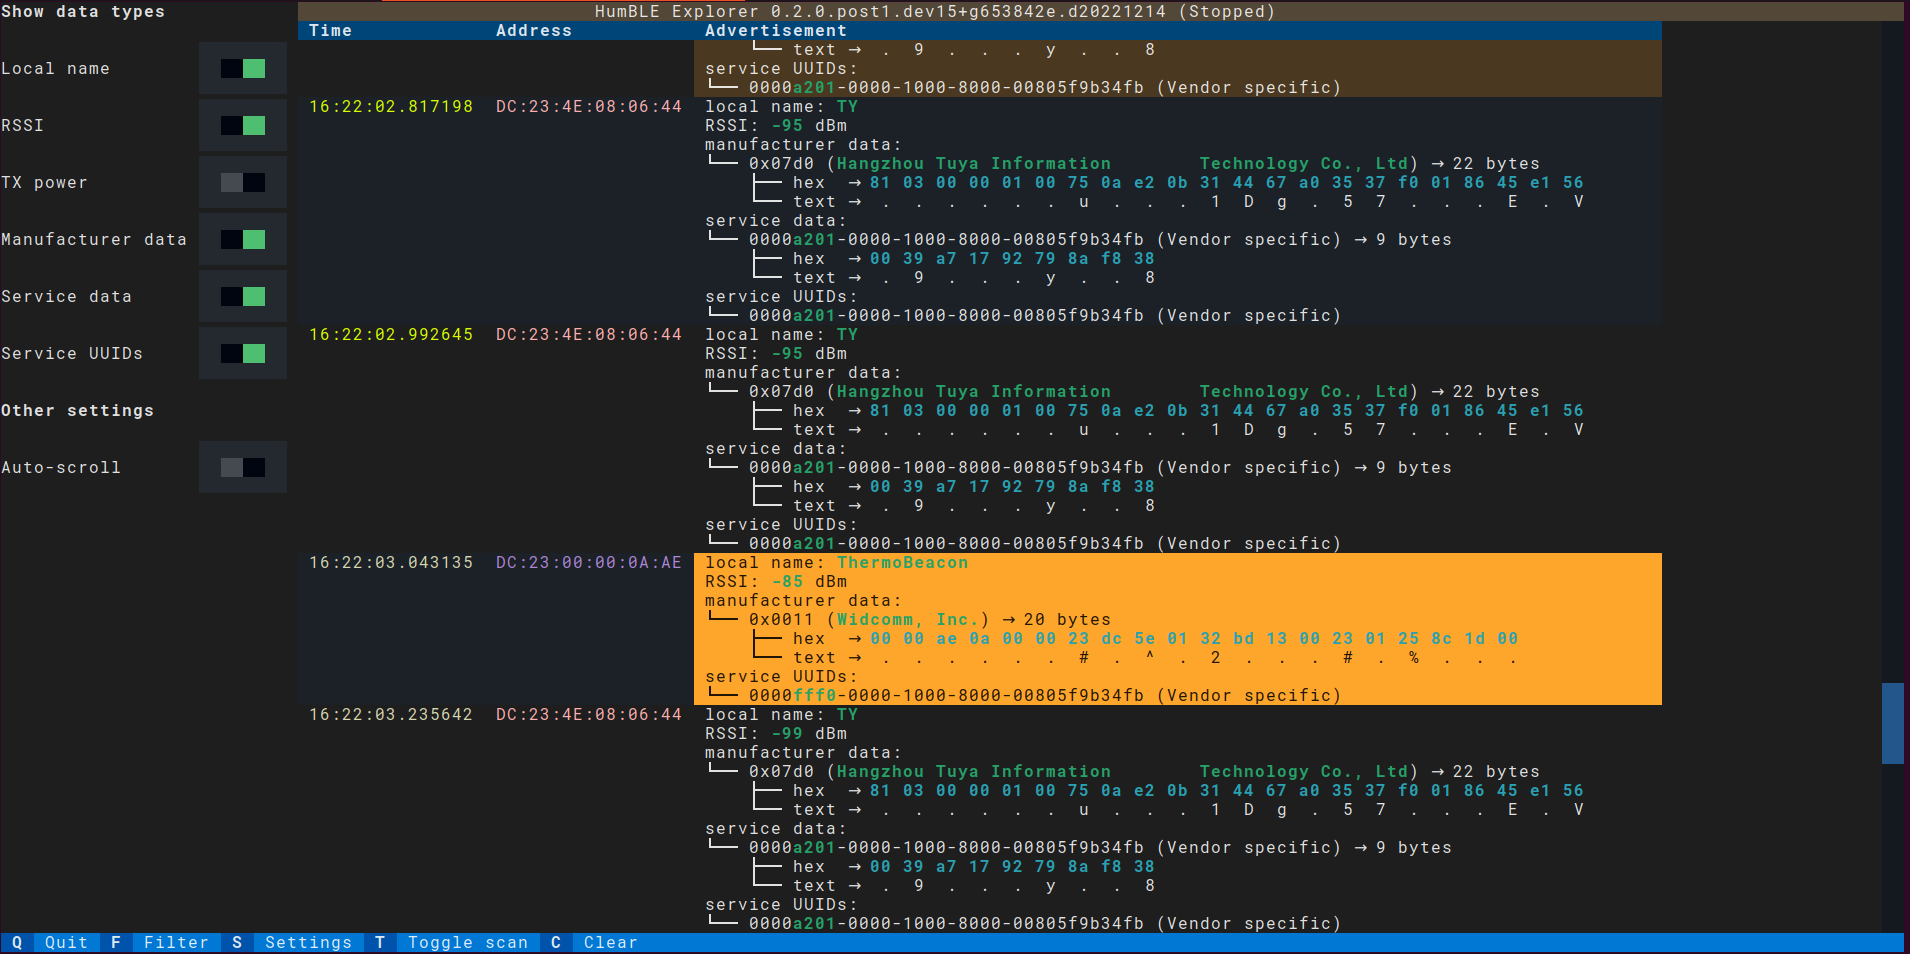
For each advertisement, the program shows columns for:
Time: the time of receiving the advertisement
Address: the device’s Bluetooth address
Advertisement: the decoded contents of the Bluetooth Low Energy advertisement
The first two columns are colored:
Timestamps within the same second are shown in the same color.
The same Bluetooth address is always shown in the same color.
The footer shows shortcut keys that are recognized by the program:
Q: Quit the program
F: Filter the devices that are shown
S: Change settings
T: Start or stop scan
C: Clear all advertisements
Filtering devices#
If you press the F key, an input widget appears where you can start typing a device filter. Currently one type of device filter is supported: an address filter. For instance, if you start typing address=DC, only advertisements from devices with their Bluetooth address beginning with DC are shown.
When you click outside the filter widget or press Tab to bring the focus to the next visible widget, the filter widget disappears, but the filter is still applied to limit the shown advertisements. Just press F again to change the filter, for instance by removing the filter with Backspace or changing the Bluetooth address part to filter on.
The number of filtered and received advertisements are always shown in the app’s title.
Changing settings#
If you press the S key, you can choose which advertising data types are shown in the table. By default all data types are shown, but you can enable or disable each of them individually by clicking on the checkbox or focusing it with Tab and then press Enter or Space to toggle it. You can also change some other settings, such as autoscrolling.
Starting and stopping the scan#
If you press the T key, you stop the scan if it’s running and you start the scan if it’s stopped. The scanning status is always shown in the app’s title.
When the scan is running and autoscrolling is enabled in the settings, the program continuously scrolls the table with advertisements so you are always seeing the most recent results. When the scan isn’t running or autoscrolling is disabled, you can scroll through the history of received advertisements with the scroll wheel, by dragging the scroll bar, or by pressing PgUp, PgDown or the arrow keys up and down when the table widget is focused.
Clearing all advertisements#
If you press the C key, the program clears all received advertisements. The table is filled again with newly received advertisements.
Quitting the program#
You quit the program by pressing Q.